Journey Into The World Of Fly – Getting Ready
Skill Building
Setting Up For The Cast
In the previous issue we talked about some of the tackle that will make learning to fly fish; especially fly casting, easier. Now we will go into setting up your tackle for the cast. Let’s assume that you have setup your rod and have placed your fly reel in place. Sitting in front of you are fly lines waiting to be spooled into the reel. There should be four types of lines. They are the backing line, fly line, a leader, and a tippet. See part 1 for basic information on these lines.
Recommended Line Poundage To Learn With:-
Backing line (Dacron or Gel Spun backing lines) – 10lb to 15lb
Fly line: Weight 6 Brightly coloured Weight Forward Floating Line
Leader (monofilament): Tapered leader starting from 20 – 15 – 10lb
Tippet: 8lb
* Line poundage depends on the fishing you intend to do once you are ready. This is just for learning purpose.
An empty fly fishing reel ready to be fed with lines.
The Backing
The first line to spool into your reel is the backing line. If you’ve been fishing with braided lines before the days of the “braided line ready” spools; you would probably know how to install the backing line. For those who do not, it is quite simple. First, make two loops around the spool of your reel twice. Then use an arbour knot or any knot that allows you to slide the knot to tighten the line to the spool. A knot that you usually use to secure your fishing lines to your spool will suffice. The important thing is that the line grips the spool tight enough not to slip.
The next thing is to figure out is how much line to spool since there are in total 4 lines to spool. This here is the tricky bit as it will depend on the size of your spool. Anyway, about a 100 meters or so of 15lb backing line should suffice. Perhaps as a guide, the backing line should take up about 10% – 15% of your spool.
A fly reel with lines spooled in. Notice the different section of lines.
Fly Line
The next line is the fly line. Connect the fly line to the backing line. As most flylines today come with welded loops, a double surgeon knot is needed to connect these ‘Loop over Loop’. For lines without welded loops, the recommended knot is the Albright knot but you can use any knot that you prefer as long as it gets the job done. The fly line is very important. It is the weight of the fly line that carries the fly to the angler’s intended fishing zone. The fly line is also the thickest line inside a fly reel. The fly line should take up to about 80% of your spool.
Leader Line
After spooling up on fly line, the next line to add is the leader line. There are leader lines in the market that actually taper down to a thinner end. For learning purposes my recommendation to you will be to not use a leader of such (I will explain why later). Just use a normal monofilament fishing line for the leader.
Note that some fly lines in the market comes with a built in loop. If you happen to be using one of these lines then all you need to do now is to secure your leader line to the fly line by tying a loop to loop knot, If your fly line does not come with a loop, then just use the usual knot that you use to connect your lines. The amount of leader lines to use should be about 7 feet.
To Tippet Or Not To Tippet?
The next line to add is your tippet line. Should you or should you not add on a tippet? There is something you need to know about tippets and when to use them. This here is also why if you have purchased a leader that tapers down to a thinner end, you should not use it when learning to cast.
What you need to understand is that when fly fishing, what you want to do is to present your fly to the fish in as natural a form as possible. A leader that tapers down to a thin section helps hide the leader so that the fish only sees the fly and not the leader. But as you fish, you will be cutting off parts of the thinner section of the leader (due to line damage) and you will inevitably reach the section of the leader that is thick.
This is where the tippet line comes in. A tippet line is a thinner line that you attach to your leader line with the objective of diong what the tapered down, thinner section of your leader line before it got trimmed away is to do. So, this is the reason why I recommended you not to use a leader that tapers down when learning to cast flies and this will save you some money. Also using a tippet is not necessary at this point in time.
But then again I know that some of you may be purist and will want to do everything according to form. So, this here is really up to you as you are basically learning to cast a fly and not really out trying to catch a fish on fly. Again, personally I feel that you do not need to add on a tippet but if you want to, go ahead and do so. About a foot or two will do.
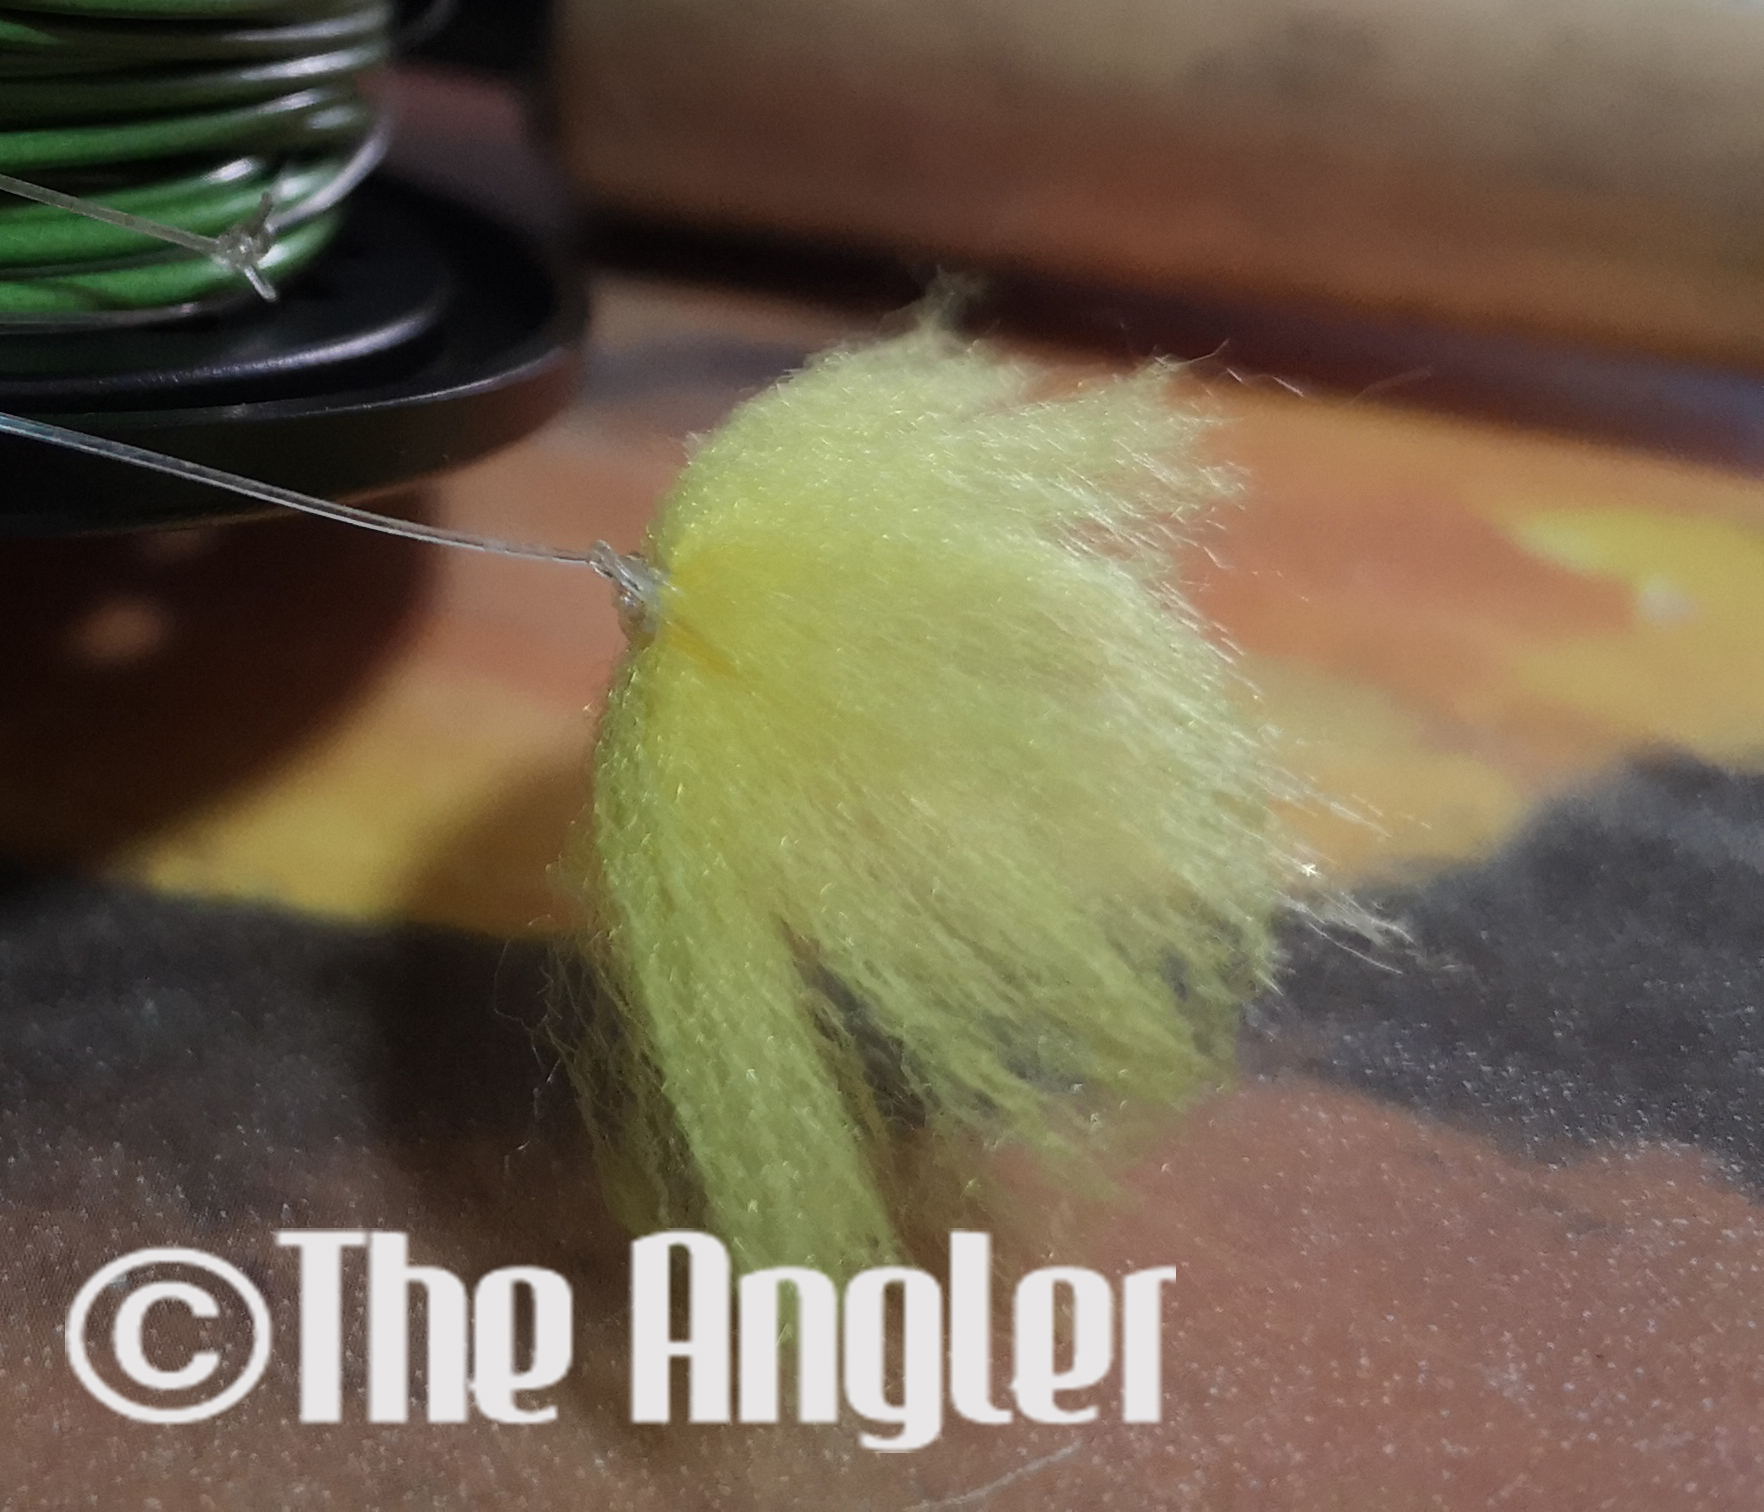
Learning to cast with this bunch of yarn is safe and it can be seen when in the air.
The Casting Object
Now you will want to tie a fly to the end of your line. Since you are learning to cast, I seriously recommend you to not use anything with a hook in it; so no flies. Of course you can use a fly but just cut away the hook point. Other things that you can use to learn fly casting with are cotton, small piece of yarn, etc. Whatever you choose to use, make sure that it can be seen in the air. You will want to be able to know where it is during the cast.
Learning to cast a fly will require a place that is wide enough.
With all these in place you are now ready to learn how to cast a fly. We will go into that in the next issue. Before you learn to cast, you will need to find a location that is safe for you to learn to cast a fly. Ideally there should not be many people walking about. The best place will be in a field without trees and people. Do note that you will need some space or clearance maybe some 50 to 60 feet behind you and even more in front of you. So, go find yourself a place to cast and stay tuned for part 4 in the next issue.
Contact us
For more information or should your have enquiries, do drop us an email.


